Tools of the Trade - Part 4: Finishing
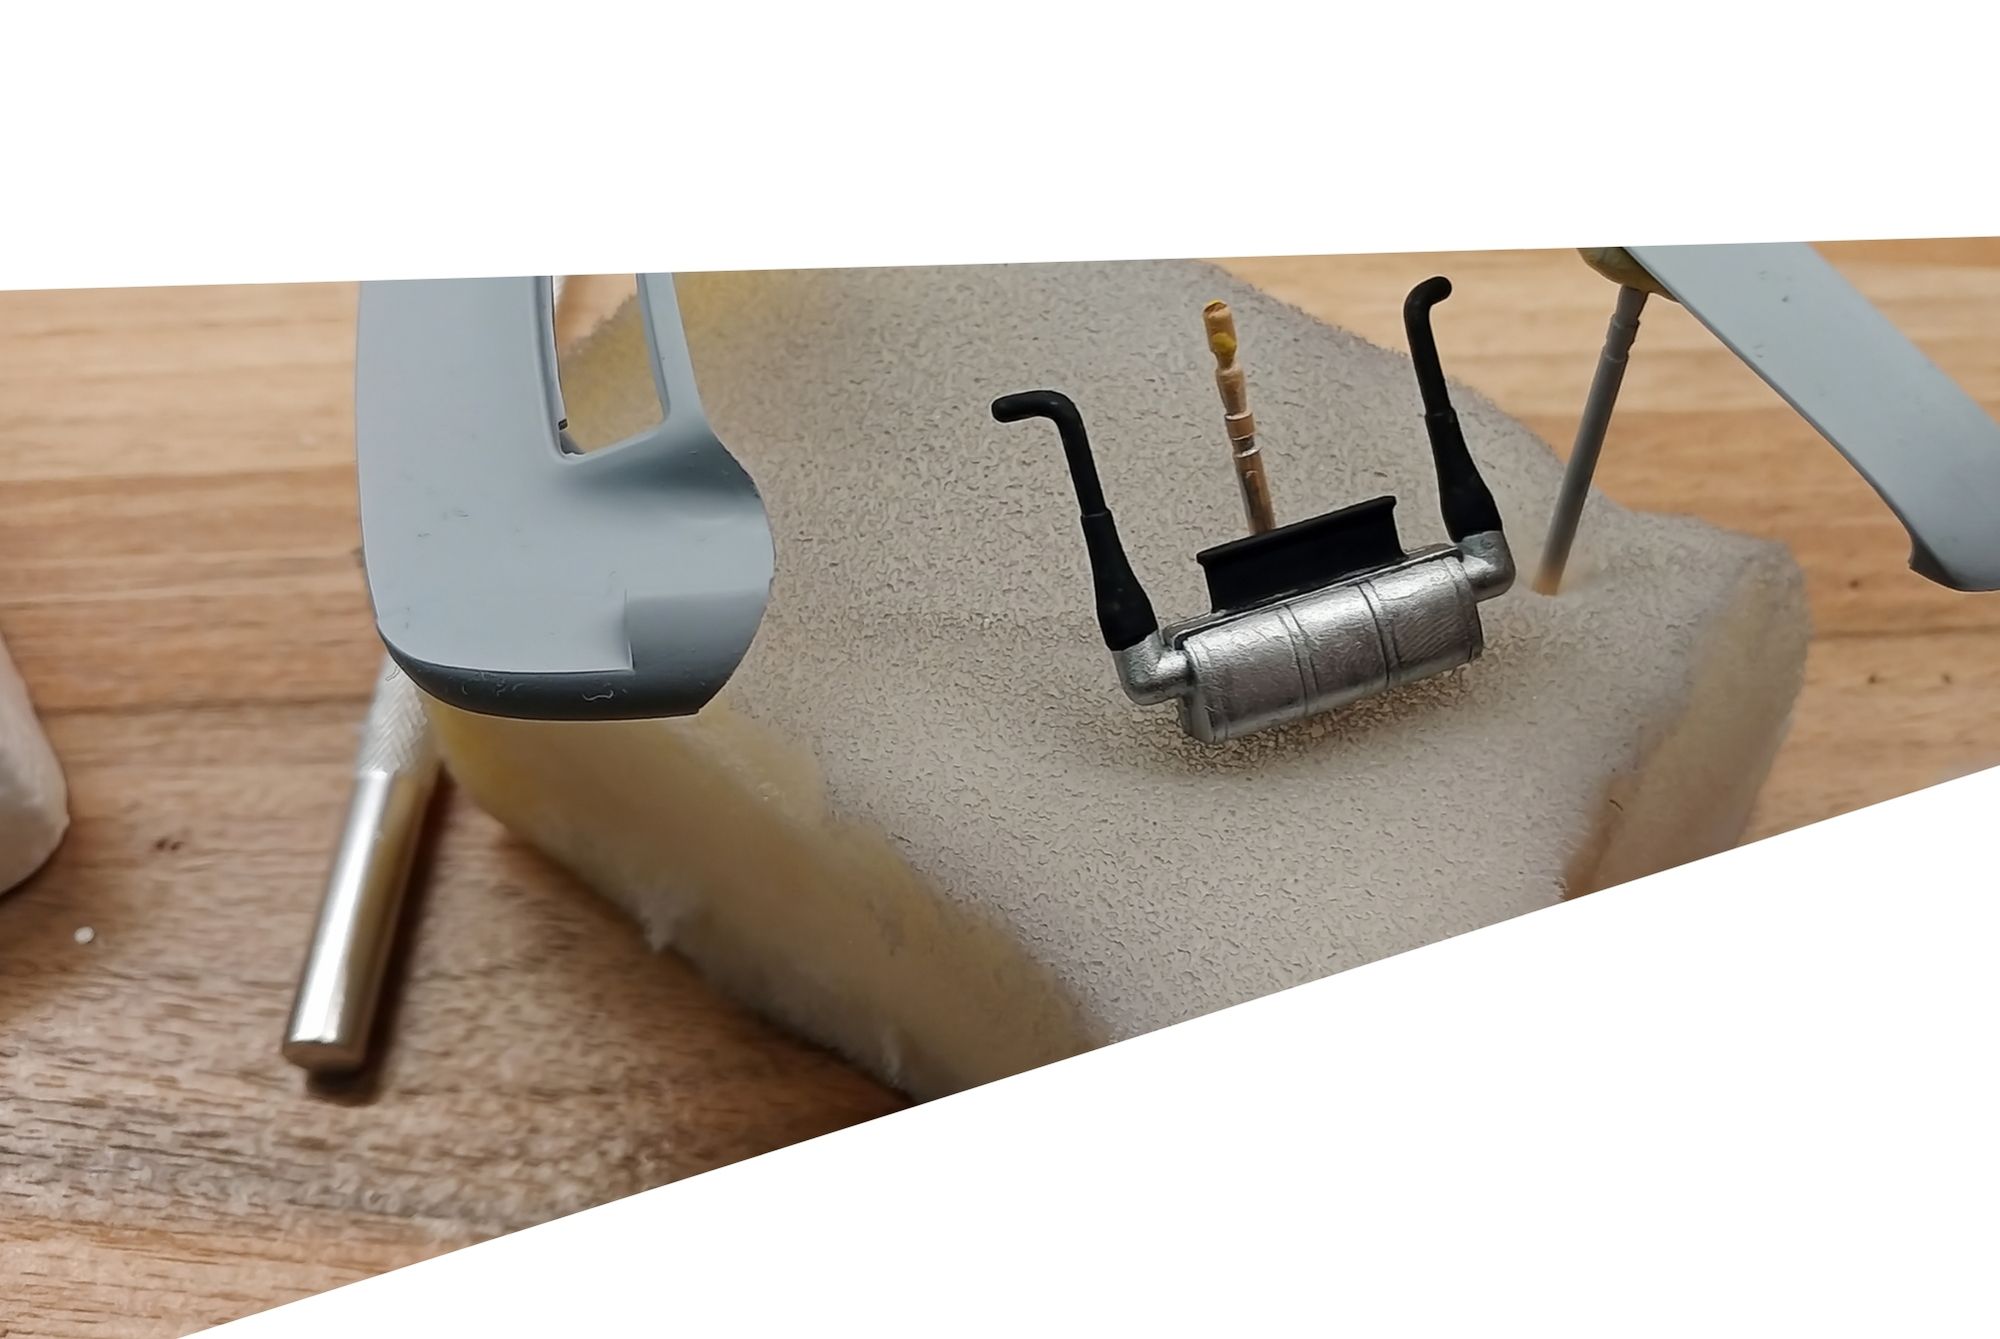
- In part 1, we looked at what you need to print safely and keep your space clean and organized. Part 2 was devoted to tools used in resin handling. In Part 3, I covered the equipment needed for post-processing your prints, from cleaning and drying to doing the final post-cure.Once these steps are complete, you have parts that are now ready to be finished and added to your model. This is where you will find yourself using many skills and tools that you are probably already familiar with.Once you are at this stage, working with your printed parts will be very similar to working with styrene model parts, with a couple key differences:
-Second, even though the proprietary resin blend you will learn how to make as a Scale Speed Garage member is more durable than standard resins, resin can still be prone to breakage. Therefore, cut and drill gently and slowly. When drilling, use a step bit or drill a small pilot hole first. For best results cutting 3D Printed resin model car parts, use a razor saw blade.
- Sanding Stick set: Perfect for light sanding to remove support marks and layer lines, these sanding sticks offer precision and control. Multiple grit options allow you to always have the right tool at hand
Cheap/Free Alternative: See nail file option below
- Nail File/ Emery Board set: These inexpensive nail files offer an assortment of grits at a low price. Perfect for sanding larger areas, but don't offer the precision control of the detail sanding sticks above.
Cheap/Free Alternative: None, but you likely already have similar sanding tools in your modeling tool box.
- Fiberglass Sanding Pens: Great for sanding tight areas where sanding sticks won't reach. This set offers 3 different sizes.
Cheap/Free Alternative: You can often scrape hard-to-reach areas with the tip of a hobby knife blade, just be careful to avoid gouging the part.
- Paint Brushes: A must for the model builder, a good paint brush set will offer an assortment of sizes and tip shapes. These are not only handy for painting details on your 3D printed model car and truck parts, but they're also useful for filling surface blemishes, cracks and other imperfections:One excellent method for filling support dimples, cracks, and other surface imperfections in your 3D Printed parts is to brush on some liquid resin and cure it with a UV torch (see below) and then sand it smooth. Think of it like an instant body filler.
Cheap/Free Alternative: None. But as a modeler, you probably already have paint brushes around.
- UV Torch: Use in combination with a brush and liquid resin to fill surface imperfections and cracks as well as a method for joining resin 3D Printed model car and truck parts.Simply brush on a small amount of resin, then use the UV torch to cure the resin in under 5 seconds. Then, sand as necessary.Be sure to select a torch such as this one, that has a wavelength range that includes 405 nm.
Cheap/Free Alternative: Sunlight (maybe). Theoretically you could do this method using the sunlight, but you would have to brush on the resin away from the sunlight and then take the part out into the sun, by which point the resin will likely have dripped and/or ran off of the area you applied it to.
- Tamiya Fine Primer: This primer is an excellent all-purpose primer that applies in light coats, preserving fine details. This primer is lacquer-based and therefore is a suitable undercoat for all paint types.
Cheap/Free Alternative: Many other spray paint primers will work well if used properly. Spray paint brands are one of the most hotly-debated topics in the modeling community, and everyone has different opinions and experiences. I won't weigh in on that here, except to say we've had great success with a number of different paint brands and types by always making sure to prepare our surfaces well and paint in light coats.
- BSI Super Glues: There's no better super glue on the market for the model builder than BSI Super Glues. We love this set because it comes with 3 different viscosities of glue (each with their own curing times), plus an accelerator, a de-bonder, and precision applicators.
Cheap/Free Alternative: Any other super glue or cyanoacrylate will work, you just may not have consistent cure times or precision application. We've also found cheap super glues tend to fog certain finishes and plastics.
- 2 Part Epoxy: For small, and or delicate joints where super glue may not provide enough adhesion, we love this fast-curing 2-part epoxy also from BSI.
Cheap/Free Alternative: Other 2-part epoxies may work just fine, but in BSI's product we have found a consistent, high-quality product and have never strayed.
- Our ever-expanding library of video tutorials and articles like this one to get you printing fast.
- Troubleshooting help for when problems arise
- Rotating monthly offerings of 3D-printable files, ready to slice and send to your printer.
- A file request channel. Scale Speed Garage members dictate what parts we develop for download.
- Printer and product reviews as well as notifications when products go on sale.
- A weekly live video hangout to get troubleshooting help, chat about all things 3D Printing and Modeling, and show off your builds.
- And, an exclusive, members-only social network where you can inspire and be inspired, find support and enter build competitions.

(He's the one on the left in this picture.)


Buy With Confidence. Print With The Best.
Our Buyer's Guide will ensure you get the right 3D Printer for your needs and your budget. You'll also find savings on all the other gear you're going to need. Ready to print? Our PSI Supercharger files print into the most detailed blower you'll find anywhere. Plus, when you sign up to receive the Buyer's Guide and STL Files, you'll receive offers for a $1 first month trial or FREE 3D PRINTER with annual membership purchase.
